Fudge Filled Easter Eggs – A Sweet Surprise for the Season
Easter is a time of joy, renewal, and irresistible treats. Among all the sweets that make their grand entrance this season, Fudge Filled Easter Eggs stand out as an absolute showstopper. These delightful confections offer a charming twist on the classic chocolate egg, hiding a rich, velvety fudge center beneath a glossy, decorative shell. Whether you’re planning a festive dessert table, an Easter egg hunt with gourmet prizes, or simply a sweet moment shared with loved ones, these eggs are the perfect blend of indulgence and artistry.
In this blog post, we’ll dive deep into the creation of Fudge Filled Easter Eggs — exploring the techniques, ingredients, flavor options, and decorating inspiration that elevate these handmade chocolates from simple to stunning. By the end, you’ll be ready to create your own edible works of art just in time for Easter.
Why Fudge Filled Easter Eggs Are Worth Making
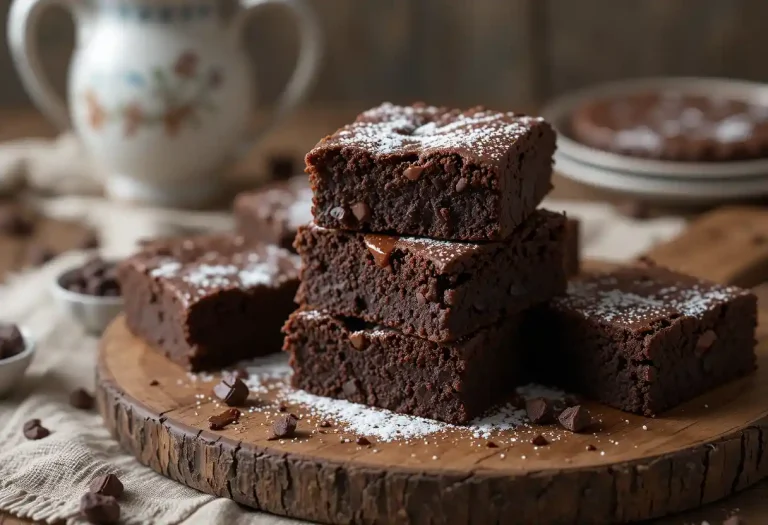
There’s no shortage of Easter treats, but fudge filled eggs offer a distinct appeal that sets them apart. Their charm lies in the unexpected: a firm chocolate shell encasing a smooth, melt-in-your-mouth interior. It’s a contrast of textures and flavors that can be customized endlessly — from rich dark chocolate fudge to peanut butter swirls, marshmallow ribbons, and even fruity layers.
Beyond taste, these eggs are fun to make and personalize. Whether you’re crafting them with kids or preparing them as handmade gifts, you can wrap them in colorful foil, decorate them with edible paints, or create marbled designs. It’s the kind of dessert that encourages creativity while offering a decadent payoff.

Essential Ingredients for Fudge Filled Easter Eggs
To get started, you’ll need a few core ingredients. The beauty of this recipe is its flexibility — you can adjust the components to suit your flavor preferences and dietary needs.
For the Shell:
- High-quality chocolate (dark, milk, or white)
- Optional: Colored candy melts for decoration or layering
For the Fudge Filling:
- Sweetened condensed milk
- Semi-sweet or dark chocolate chips
- Butter
- Vanilla extract
- Optional mix-ins: chopped nuts, mini marshmallows, crushed cookies, peanut butter, fruit puree
Tools You’ll Need:
- Silicone or plastic egg molds
- Pastry brush or spoon for spreading chocolate
- Piping bag or small spoon for filling
- Refrigerator space for setting
Step-by-Step: Making Fudge Filled Easter Eggs
1. Melt and Temper the Chocolate
The key to a glossy, crisp chocolate shell lies in proper tempering. If you’re using real chocolate (not candy melts), temper it by melting 2/3 of the chocolate in a heat-safe bowl over simmering water, then removing it from heat and stirring in the remaining chocolate until smooth.
Tempering ensures your chocolate will have that professional-looking snap and sheen, and it’ll hold its shape even at room temperature.
2. Create the Chocolate Shells
Using a spoon or pastry brush, coat the inside of each egg mold with a layer of melted chocolate. Let it set slightly, then repeat for a second coat to ensure durability. Place the mold in the refrigerator for 10–15 minutes to fully harden.
Tip: Don’t make the layer too thick or too thin — just enough to hold the fudge without being too heavy to bite into.
3. Prepare the Fudge Filling
While the shells are setting, make the fudge. In a saucepan over medium heat, combine sweetened condensed milk, chocolate chips, and butter. Stir continuously until everything melts into a smooth mixture. Remove from heat and stir in vanilla extract and any optional ingredients (like crushed nuts or swirls of caramel).
Let the fudge cool slightly until it’s thick but still pourable.
4. Fill the Chocolate Shells
Spoon or pipe the fudge into the hardened chocolate shells, filling them just below the rim. Gently tap the mold on the counter to release air bubbles and smooth the surface.
Optional: Add a layer of caramel, a hidden center of peanut butter, or a gooey ganache for a surprise element.
5. Seal the Eggs
Re-melt a small amount of chocolate and spread it over the top of the filled eggs to seal them. Use a spatula to smooth the base flat. Return the molds to the fridge for another 15–20 minutes until fully set.
6. Unmold and Decorate
Once the eggs are completely firm, gently pop them out of the molds. Now comes the fun part — decorating!
You can drizzle them with contrasting chocolate, paint them with edible luster dust, add sprinkles, or even airbrush beautiful ombré effects. Wrap them in foil or nestle them in Easter baskets with decorative grass for the perfect presentation.
Flavor Variations to Try
The classic chocolate fudge is just the beginning. With a little imagination, you can turn your fudge filled Easter eggs into flavor-packed surprises:
1. Peanut Butter Swirl Fudge
Add swirls of creamy peanut butter into your fudge mixture for a salty-sweet combo.
2. Cookies and Cream
Mix crushed chocolate sandwich cookies into white chocolate fudge for a cookies-and-cream vibe.
3. Raspberry Dark Chocolate
Add a touch of raspberry puree or freeze-dried raspberries to the fudge for a fruity twist that complements dark chocolate.
4. Mint Chocolate
Stir in peppermint extract and green food coloring for a refreshing variation.
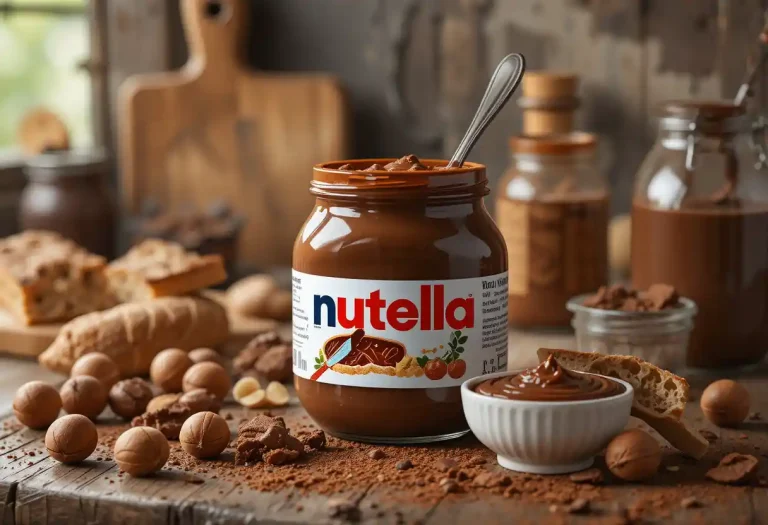
5. Nutella Hazelnut Fudge
Fold in Nutella and chopped toasted hazelnuts for a creamy, nutty finish.
These variations make your Easter eggs unique and allow you to cater to different tastes.
Packaging Ideas for Gifting
Fudge Filled Easter Eggs make gorgeous gifts. Here are a few ways to present them beautifully:
- Clear gift boxes with shredded pastel paper and ribbon
- Cellophane bags tied with satin bows and personalized tags
- Mini egg cartons painted or decorated with Easter themes
- Foil wrapping in shiny seasonal colors like lavender, gold, or mint green
Handmade treats always feel extra special when they’re wrapped with care, and these eggs are no exception.
Tips for Success
- Use high-quality chocolate. The better the chocolate, the better the final result — both in taste and texture.
- Don’t overfill the molds. Leave a bit of space to seal the egg properly.
- Work in a cool environment. Chocolate sets best when the room isn’t too warm.
- Use gloves when handling. This prevents fingerprints on the glossy surface.
- Store in a cool, dry place. Avoid refrigeration after molding unless the room is too warm, as condensation can affect appearance.
Why These Eggs Deserve a Spot on Your Easter Table
Fudge Filled Easter Eggs are more than just a holiday treat — they’re an experience. They combine the excitement of surprise, the satisfaction of rich chocolate and fudge, and the joy of creativity. Whether you make them for your family, give them as gifts, or include them in a dessert spread, they bring beauty and indulgence to your celebration.
And because they’re fully customizable, they can be tailored to dietary preferences or festive themes. Vegan? Use dairy-free chocolate and coconut condensed milk. Keto? Try sugar-free alternatives. Want to add a personal touch? Create name tags or add a special note inside.
Final Thoughts
This Easter, elevate your dessert game with these unforgettable Fudge Filled Easter Eggs. They’re as fun to make as they are to eat, offering the perfect balance of craft, creativity, and decadence. Whether you’re a seasoned chocolatier or just starting your baking journey, these filled eggs will leave a lasting impression.
Looking for more festive dessert inspiration? Check out other handcrafted seasonal sweets on ExploreRecipes.org and follow along on Pinterest for even more creative treats!