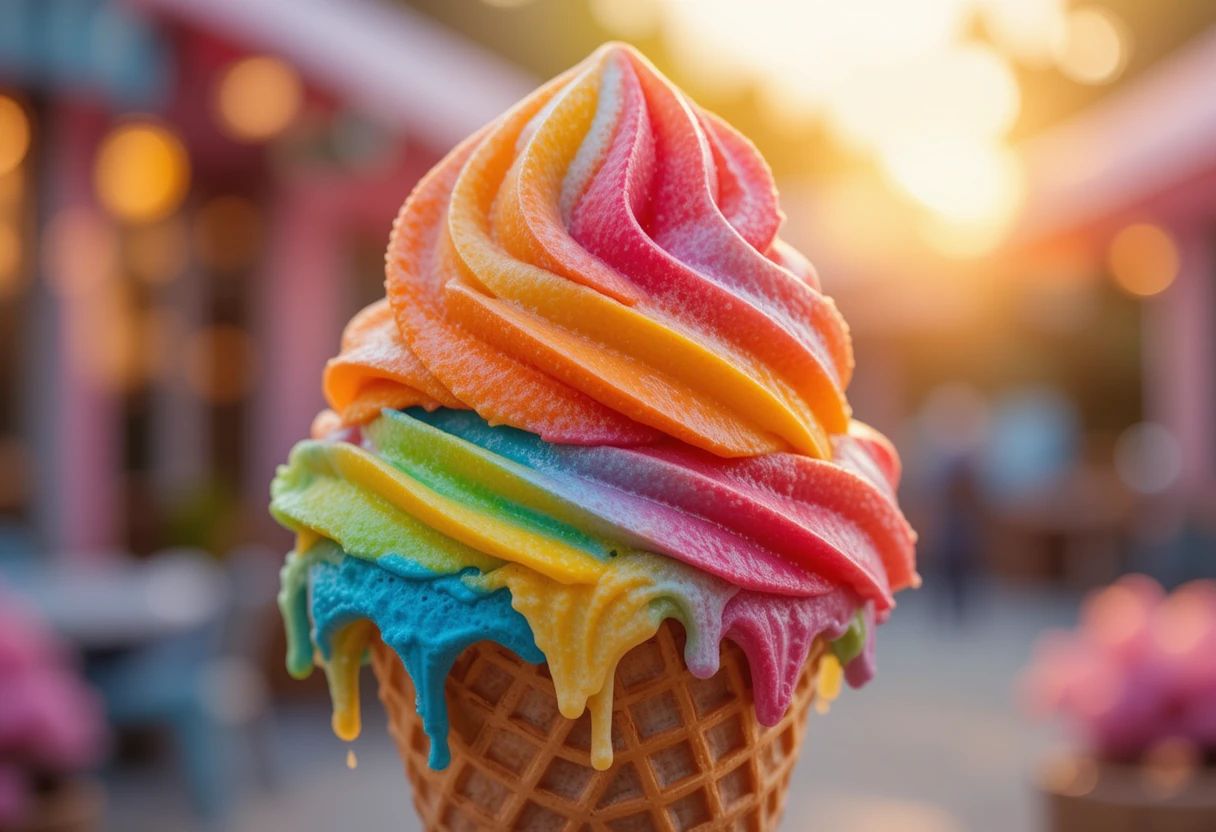
Ultimate Homemade Rainbow Ice Cream: A Dreamy, Colorful Delight
Nothing screams fun and indulgence quite like homemade rainbow ice cream. With its vibrant swirls of color, creamy texture, and irresistible flavor, this frozen treat is perfect for birthdays, summer parties, or simply brightening up an ordinary day. Unlike store-bought versions, making rainbow ice cream at home ensures freshness, quality ingredients, and the ability to customize flavors. In this post, we’ll guide you through creating the ultimate homemade rainbow ice cream that is as beautiful as it is delicious.
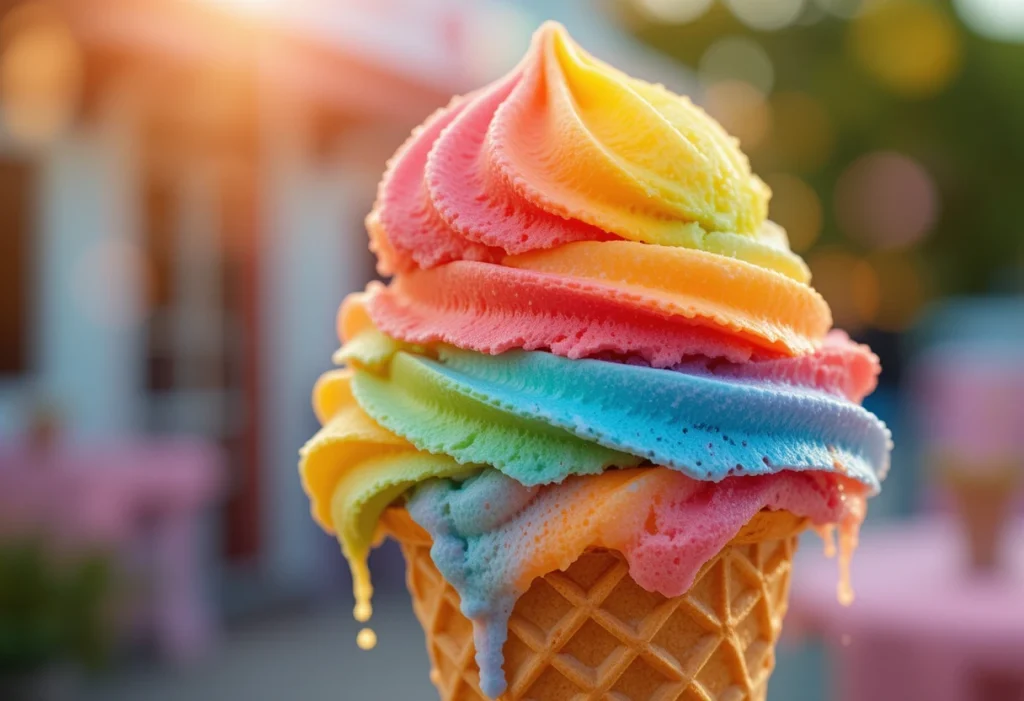
The Magic of Rainbow Ice Cream
Rainbow ice cream isn’t just a feast for the eyes; it’s a delightful blend of smooth, rich creaminess and multiple flavor layers. Traditionally, this ice cream is made using a simple no-churn method or with an ice cream maker for an ultra-smooth consistency. The colors represent different flavors or can simply be vibrant hues of vanilla, ensuring each scoop is both stunning and delicious.
Ingredients You’ll Need
For a no-churn homemade rainbow ice cream, you only need a handful of ingredients:
Base Ingredients:
- 2 cups heavy whipping cream (for a smooth, creamy texture)
- 1 can (14 oz) sweetened condensed milk (adds sweetness and a velvety consistency)
- 1 teaspoon vanilla extract (for a classic ice cream flavor)
- Gel food coloring (red, orange, yellow, green, blue, purple)
- Optional mix-ins (fruity extracts, chocolate chips, sprinkles, or candy bits)
For a Churned Version:
- 2 cups whole milk
- 1 cup heavy cream
- ¾ cup granulated sugar
- 4 egg yolks (for extra richness)
- 1 teaspoon vanilla extract
How to Make the Ultimate Rainbow Ice Cream
Step 1: Prepare the Ice Cream Base
For the no-churn method, begin by whipping the heavy cream until stiff peaks form. In a separate bowl, whisk together the sweetened condensed milk and vanilla extract. Gently fold the whipped cream into the condensed milk mixture, ensuring a light and airy texture.
For the churned version, heat the milk, heavy cream, and sugar in a saucepan over medium heat until it simmers. In a separate bowl, whisk the egg yolks and slowly temper them by adding a small amount of the warm milk mixture. Gradually add the yolk mixture back into the saucepan, cooking until thickened. Strain and let cool completely before churning in an ice cream maker.
Step 2: Divide and Color the Mixture
Once your base is ready, divide it into six separate bowls. Add a few drops of gel food coloring into each bowl to create red, orange, yellow, green, blue, and purple mixtures. Stir gently to achieve vibrant hues without deflating the base.
Step 3: Layering the Colors
To achieve the signature rainbow swirl, carefully spoon or pour each color into a loaf pan or ice cream container, layering them in the order of the rainbow. Use a butter knife or skewer to lightly swirl the colors together for a stunning marbled effect. Be careful not to overmix, or the colors will blend too much.
Step 4: Freezing the Ice Cream
Cover the container with plastic wrap or a lid, ensuring the surface is in direct contact with the wrap to prevent ice crystals. Freeze for at least 6 hours or overnight for the best texture.
Tips for Perfect Rainbow Ice Cream
- Use gel food coloring instead of liquid for brighter, more vibrant colors without altering the consistency.
- Chill your mixing bowl and beaters before whipping the cream for better volume.
- Avoid over-mixing colors to maintain distinct, beautiful swirls.
- Experiment with flavors by adding extracts like strawberry, lemon, or coconut to each color layer.
- Serve with fun toppings like sprinkles, chocolate drizzle, or whipped cream for extra indulgence.
Fun Variations of Rainbow Ice Cream
- Rainbow Sherbet: Replace the dairy base with fruit purees and yogurt for a lighter, tangy twist.
- Unicorn Swirl Ice Cream: Use pastel versions of the rainbow colors and mix in marshmallows or edible glitter.
- Tropical Rainbow: Flavor each layer with tropical fruit extracts like pineapple, mango, and passionfruit.
- Dairy-Free Version: Swap the heavy cream for coconut milk and use a dairy-free sweetened condensed milk alternative.
How to Serve Your Homemade Rainbow Ice Cream
- In a classic waffle cone or bowl for a simple yet delightful treat.
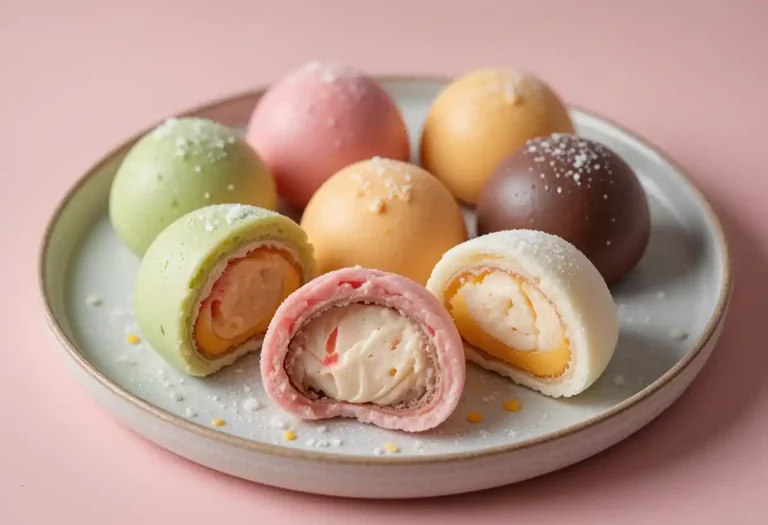
- As an ice cream sandwich filling between sugar cookies or brownies.
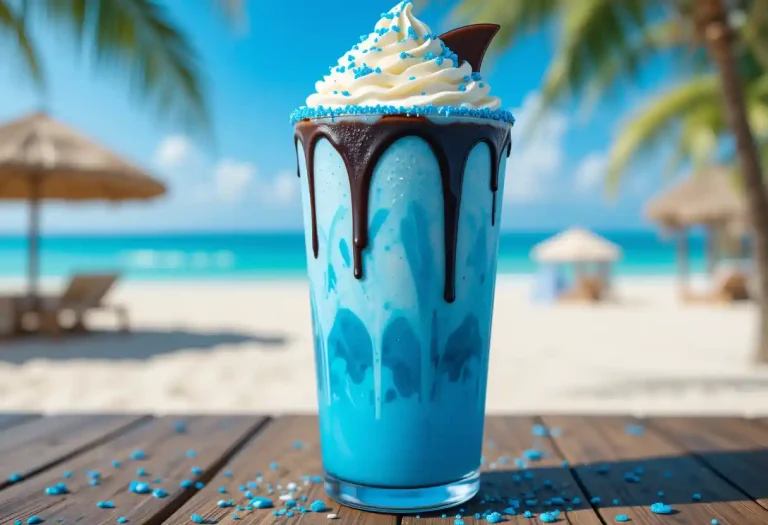
- Blended into a vibrant milkshake for a fun and colorful twist.
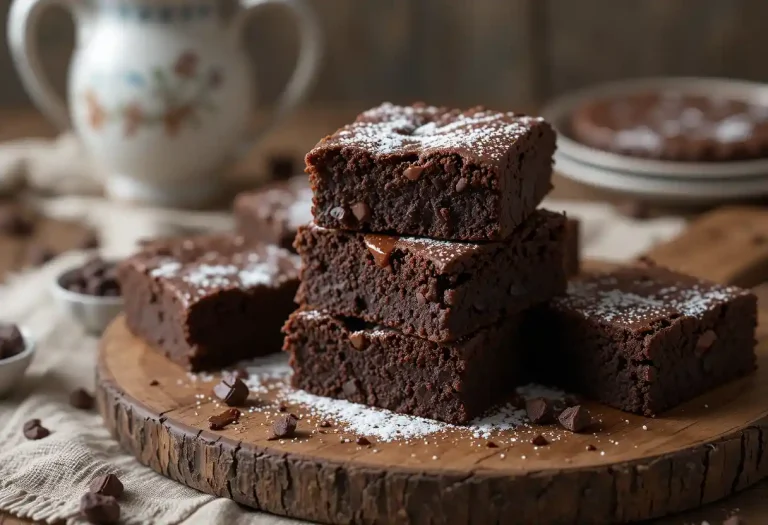
- On top of a warm slice of cake or pie for a contrast of hot and cold.
- Layered into a parfait with whipped cream and crushed cookies.
Why You’ll Love This Recipe
Making homemade rainbow ice cream is an exciting and rewarding process that lets you control ingredients, customize flavors, and impress your friends and family with a show-stopping dessert. Whether for a party, summer fun, or just because, this creamy, dreamy treat is sure to bring smiles all around!
Final Thoughts
Now that you know how to make the ultimate homemade rainbow ice cream, it’s time to get creative in the kitchen! Gather your ingredients, mix up some colors, and enjoy a magical frozen treat. Don’t forget to share your creations with us—tag us on social media with your colorful ice cream masterpieces!
Happy scooping!